
Why Preparing for a Home Inspection Matters When Selling Your Home
When I first decided to sell my house, I didn’t fully understand how pivotal the home inspection process would be. I thought staging and setting the right price were the key elements—but it turned out, the inspection could make or break the deal. In fact, my buyer almost walked away after our first inspection didn’t go as smoothly as expected. That’s when I realized: if I had better prepared, I could’ve avoided stress and negotiation drama. Here’s everything I learned and what I wish I knew from the start.
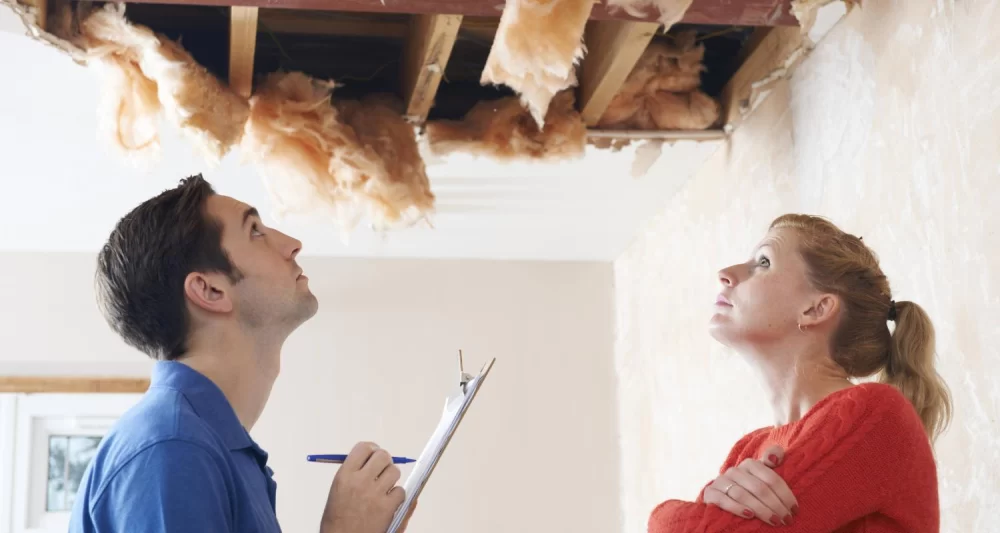
1. Understand What Home Inspectors Look For
Before the inspector even steps inside, they already have a mental checklist of what to evaluate. They’re not judging your decorating style—they’re focused on the structural integrity and safety of the home. This includes the roof, HVAC systems, electrical wiring, plumbing, foundation, and any signs of water damage or mold.
1.1 Structure and Foundation
If your home has cracks in the walls or uneven flooring, this could signal foundation issues. I noticed a tiny crack in my basement wall and thought nothing of it until the inspector flagged it. I had to call a structural engineer, which delayed the closing by two weeks.
1.2 Roofing and Gutters
Most buyers are spooked by roofing problems. Before my inspection, I hired a roofer to replace a few missing shingles and clear out the gutters. It cost a few hundred bucks, but saved me from negotiating a $5,000 roof credit with the buyer.
1.3 Electrical and Plumbing Systems
My inspector caught a few outdated outlets in the kitchen that didn’t have GFCI protection. Luckily, I had a trusted electrician on call to upgrade them fast. Don’t assume everything’s fine because the lights turn on—inspectors test everything thoroughly.
2. Tidy Up and Make a Great First Impression
You might think the inspection is all technical, but appearances still matter. A clean, well-kept home signals to the inspector (and the buyer) that the property is maintained. I spent a weekend decluttering, cleaning, and touching up paint. I even fixed a squeaky door that had annoyed me for years. It might seem minor, but it sends the right message.
2.1 Easy Access to Key Areas
Make sure nothing blocks access to the attic, basement, electrical panel, water heater, or HVAC system. During my inspection, the inspector had to move my stored boxes to get to the furnace. That’s a rookie mistake—I should’ve cleared the path beforehand.
2.2 Replace Burnt-Out Bulbs
This seems silly, but a burnt-out bulb might suggest to the inspector that the fixture doesn’t work. I made a checklist of every light in my house and replaced the dead bulbs the day before the inspection. It’s a quick win.
3. Handle Minor Repairs Before the Inspection
If you know something’s broken, fix it. The last thing you want is for a bunch of little red flags to stack up on the report. Here’s what I took care of before my inspector arrived:
- Repaired a leaky faucet in the kitchen
- Replaced a cracked window pane
- Re-caulked the bathtub and bathroom sink
- Reattached a loose handrail on the stairway
These small tasks cost me less than $500 total, but they made the inspection report much cleaner and gave the buyer less room to negotiate.
4. Be Honest About Known Issues
Transparency builds trust. If you know the air conditioner needs servicing or there’s a past roof leak, disclose it. I provided receipts for my HVAC tune-up and roof repair, which showed the buyer that I had nothing to hide and was proactive. It kept negotiations smoother, and I didn't feel like I was scrambling to defend myself.
5. Stay Calm and Be Ready to Leave During the Inspection
Most inspectors prefer to work without the homeowner present. It helps the buyer feel more comfortable asking questions. I scheduled the inspection for a weekday morning and made plans to grab coffee while it was happening. I also made sure to crate my dog so there were no distractions or risks.
5.1 Leave Documentation in Plain Sight
I left out a binder with appliance manuals, receipts for repairs, warranties, and even my last pest control report. The inspector appreciated the organization, and my buyer felt reassured that the house was well maintained.
6. What Happens After the Inspection
Once the inspection is complete, the buyer will get a detailed report, usually within 24 hours. Expect them to come back with requests for repairs or credits. In my case, the buyer asked for a $1,200 credit to update the water heater. Because I was prepared and the rest of the report was clean, I negotiated that down to $600.
6.1 Negotiating Smartly
Stay professional and focused. Don’t get emotional—this is business. Work with your real estate agent to decide which repairs you’ll handle and which ones can be negotiated. Sometimes offering a home warranty is a good way to close the gap without actually doing more work.
Final Thoughts from My Experience
Preparing for a home inspection is more than just checking boxes—it’s about setting yourself up for a smooth sale. By investing a little time and money upfront, I avoided costly negotiations, buyer doubts, and delays. If you’re getting ready to sell, don’t wait until the last minute. Treat the inspection like a final exam—and prepare like your sale depends on it, because it probably does.
Looking for expert guidance or vetted local professionals? You can always check out Your Private Space for the best service recommendations tailored to your needs.